No Sew Buffalo Plaid Fabric Tree
Call me crazy, but I have to say that I am in love with all things buffalo plaid. It combines my love of fabric and bold colors!! Whenever I am in a store, my eye is always attracted to it! So of course, here’s my take on a little buffalo plaid tree.
It’s so quick and easy to make, you might want to make an extra to give away!
You will need:
Dollar Tree frame
Scissors
1 yard of Buffalo Plaid fabric any color
Red ribbon for bow (scraps are fine)
Burlap ribbon for base
Ruler
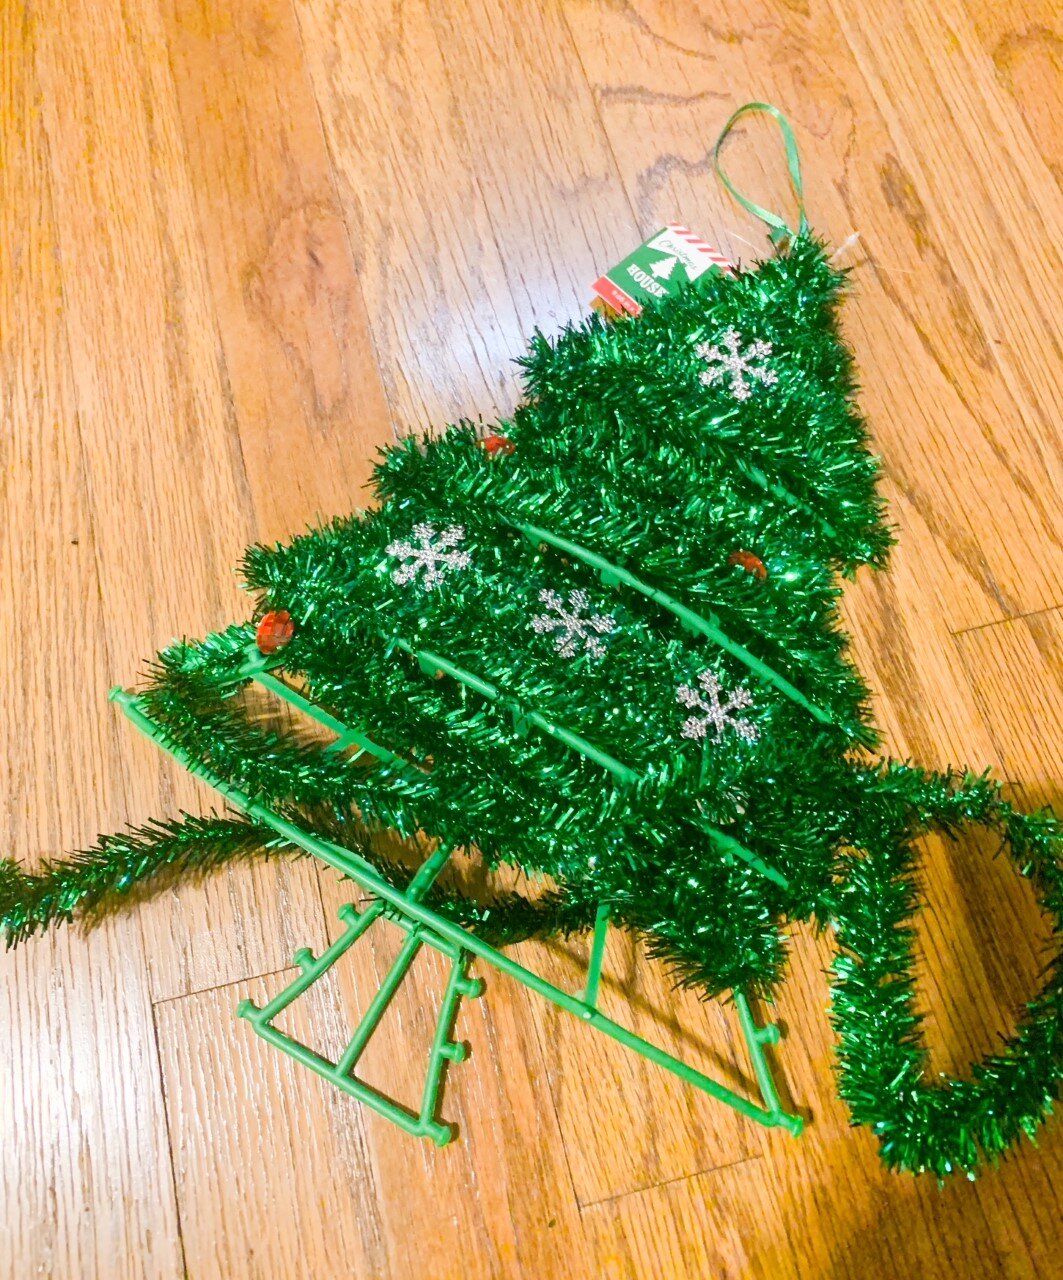
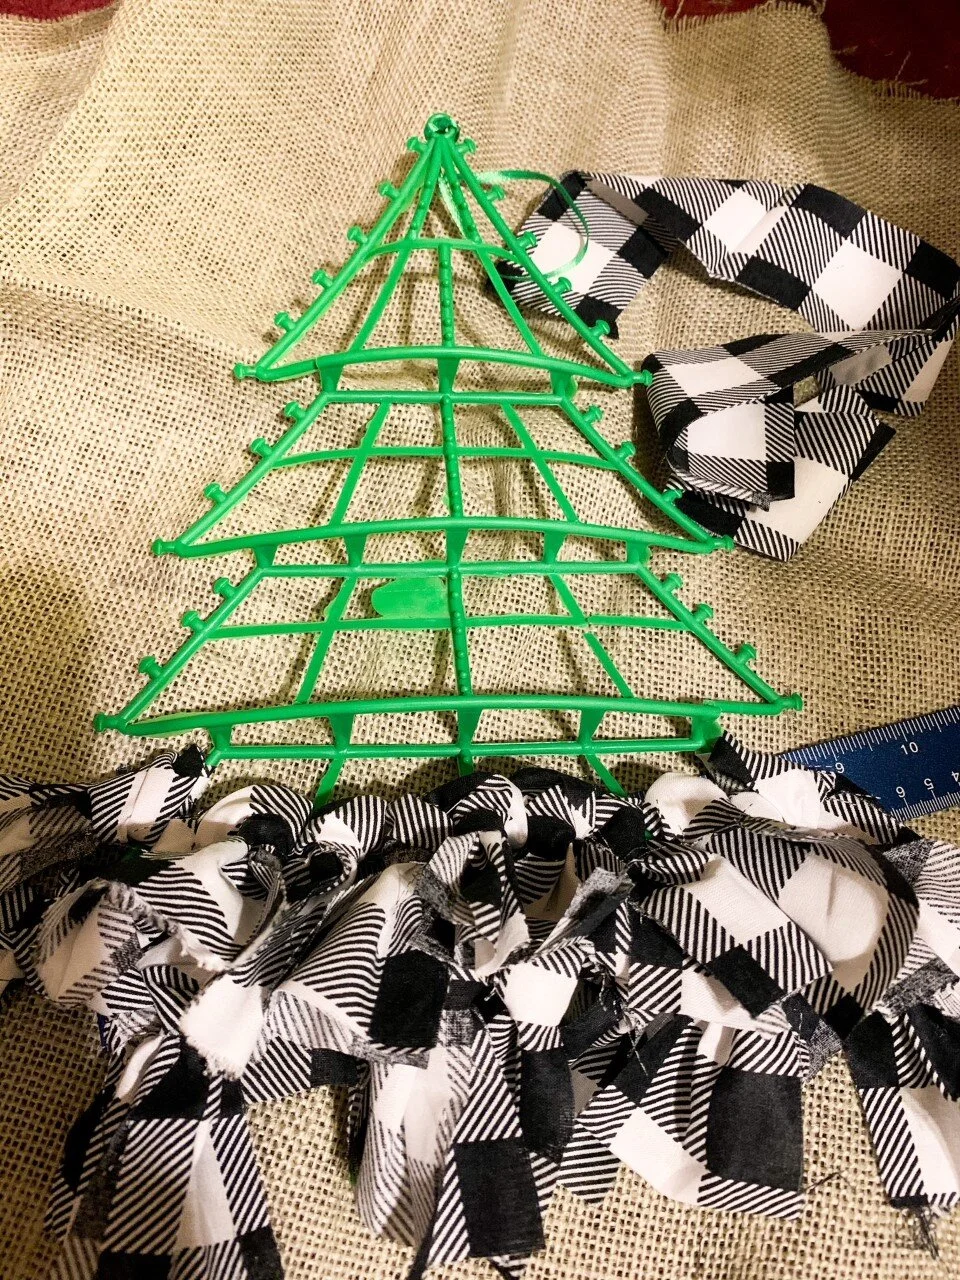
This is the tree I bought at the Dollar Tree to re make into something way better! Just unwind the green garland from the tree. Super easy.
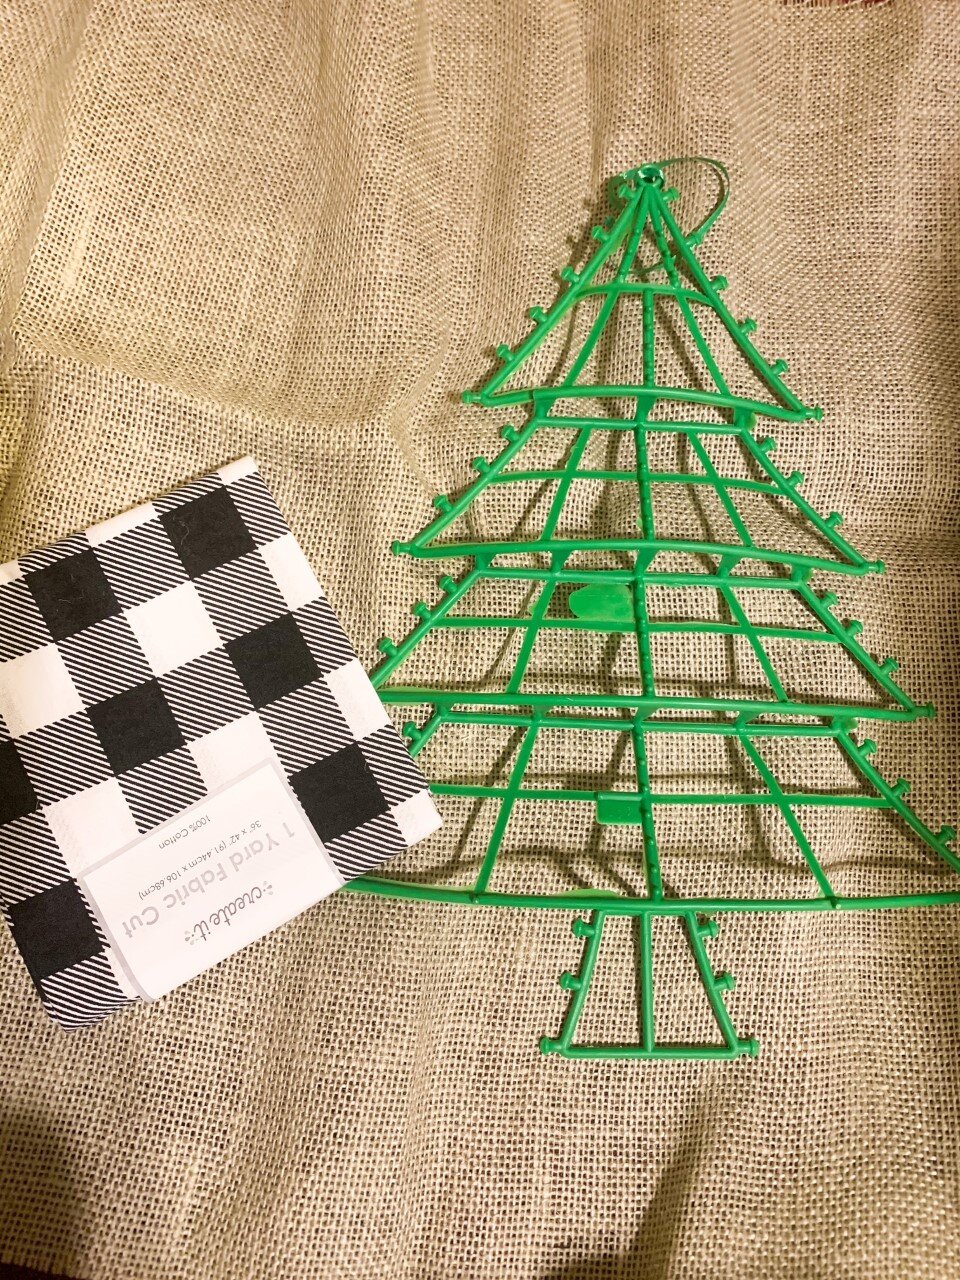
This is what the frame looks like naked. I bought the fabric at Walmart. It was already cut into 1 yard pieces.
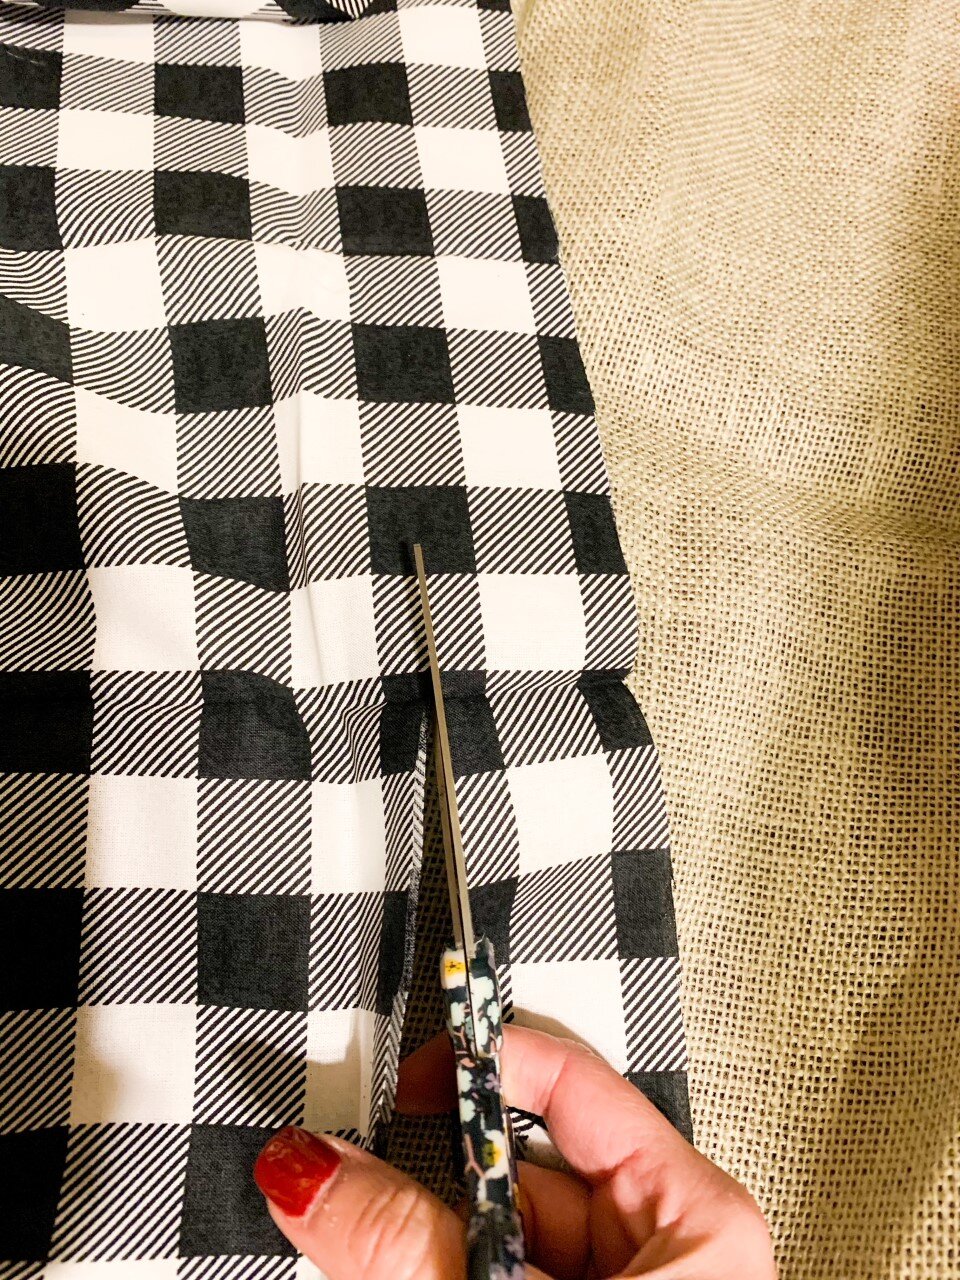
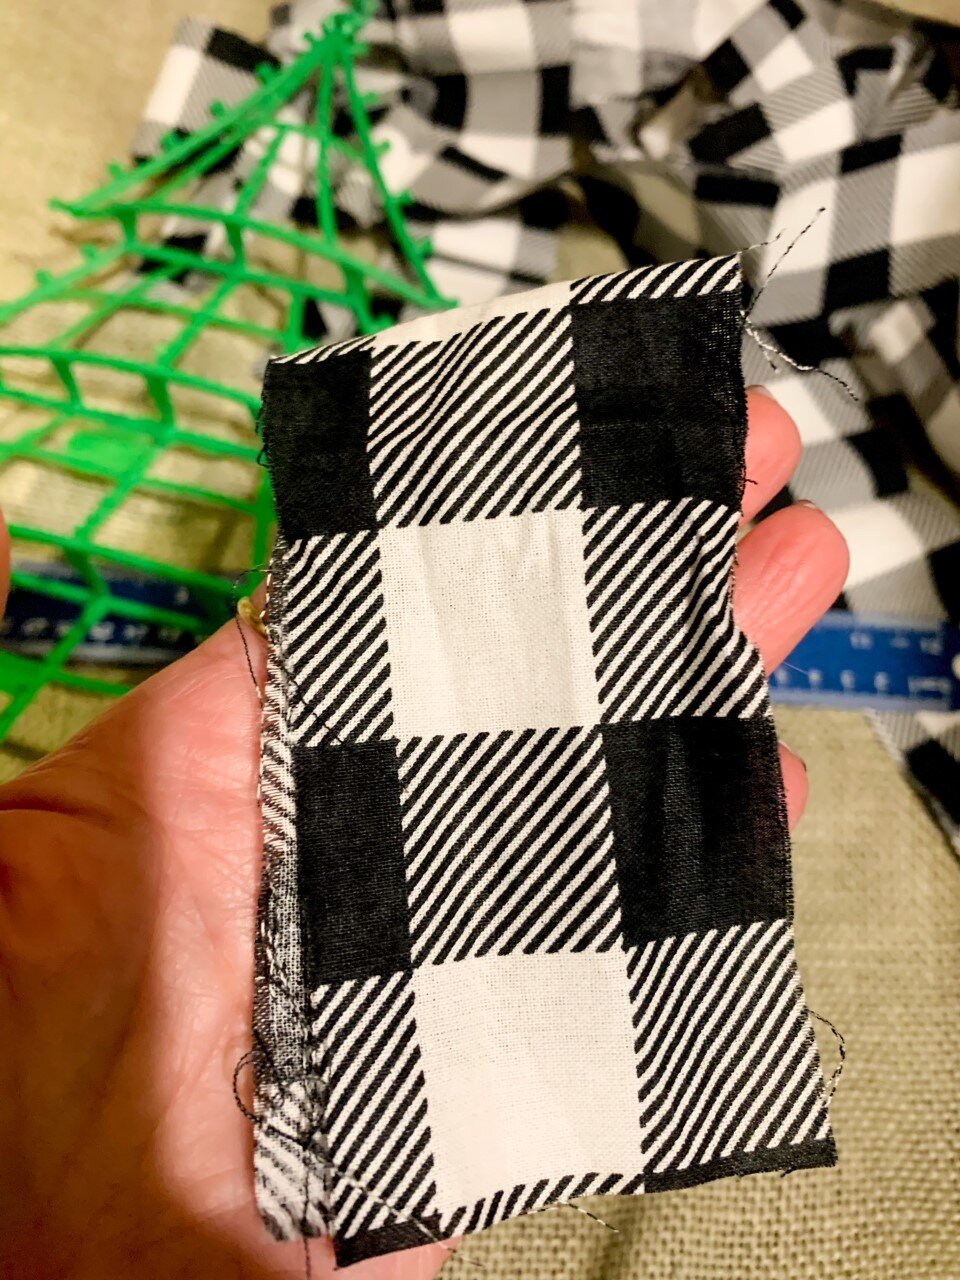
I cut my strips into approximately 2” wide pieces.
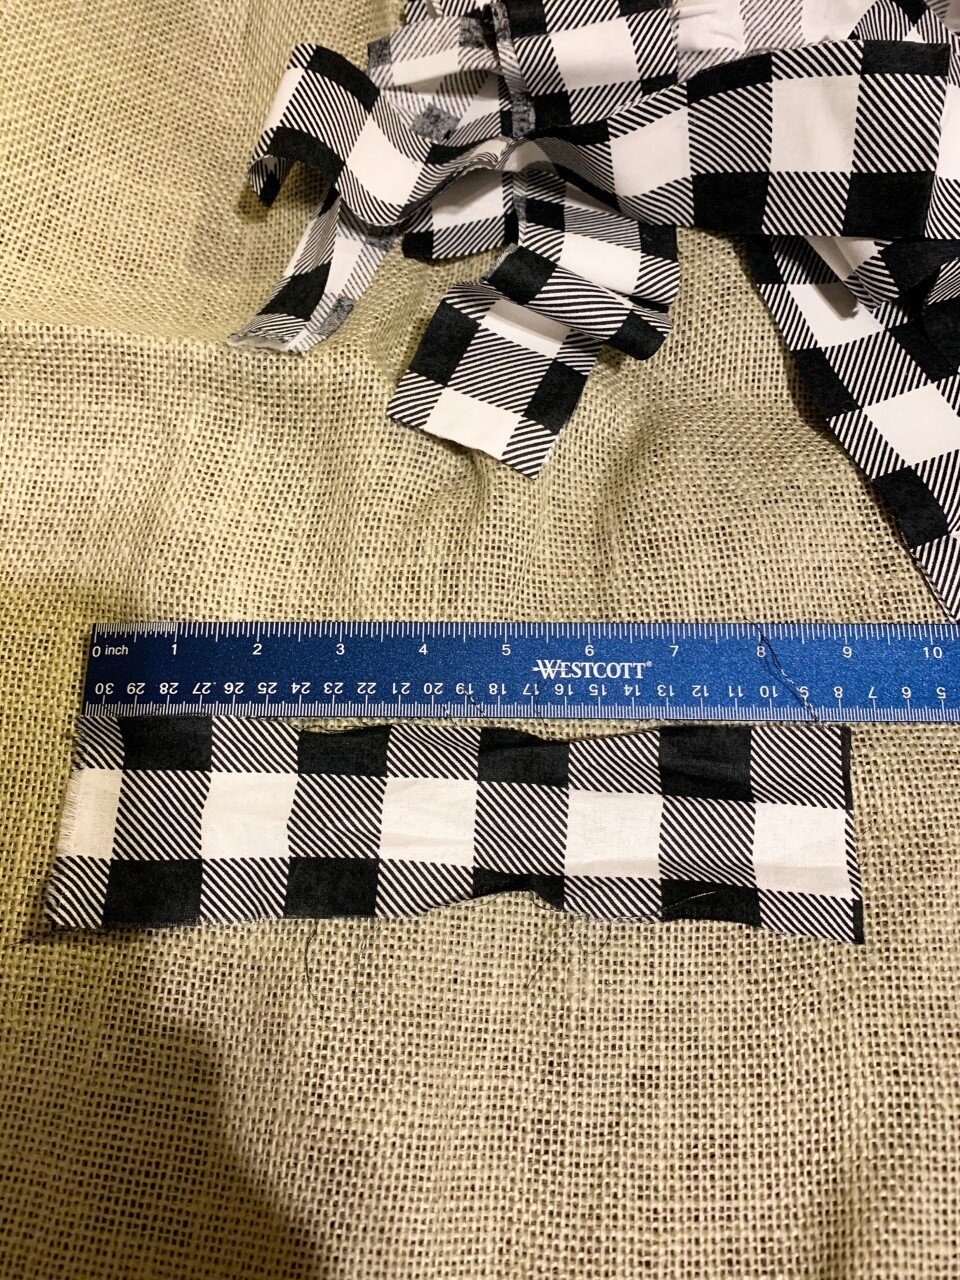
Then I cut each strip into approximately 9” pieces. It doesn’t have to be perfect. That’s the beauty of projects like this.
To make the fabric loops on the tree, I first folded the strip in half.
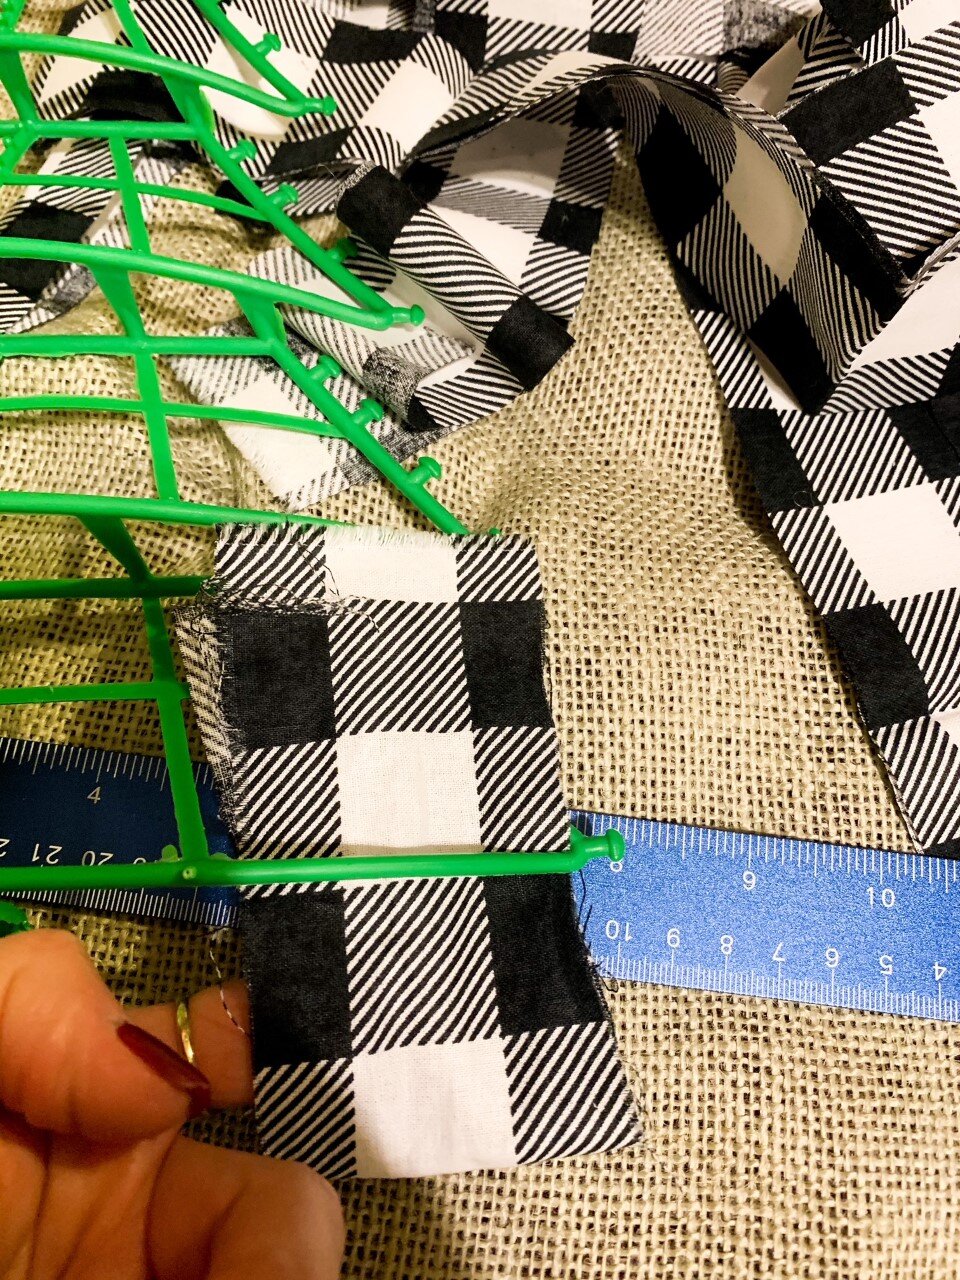
I started at the bottom of the tree and worked up. I pulled it behind the plastic bar with the loop going downward. Then I brought the ends over the plastic and into the fabric loop.
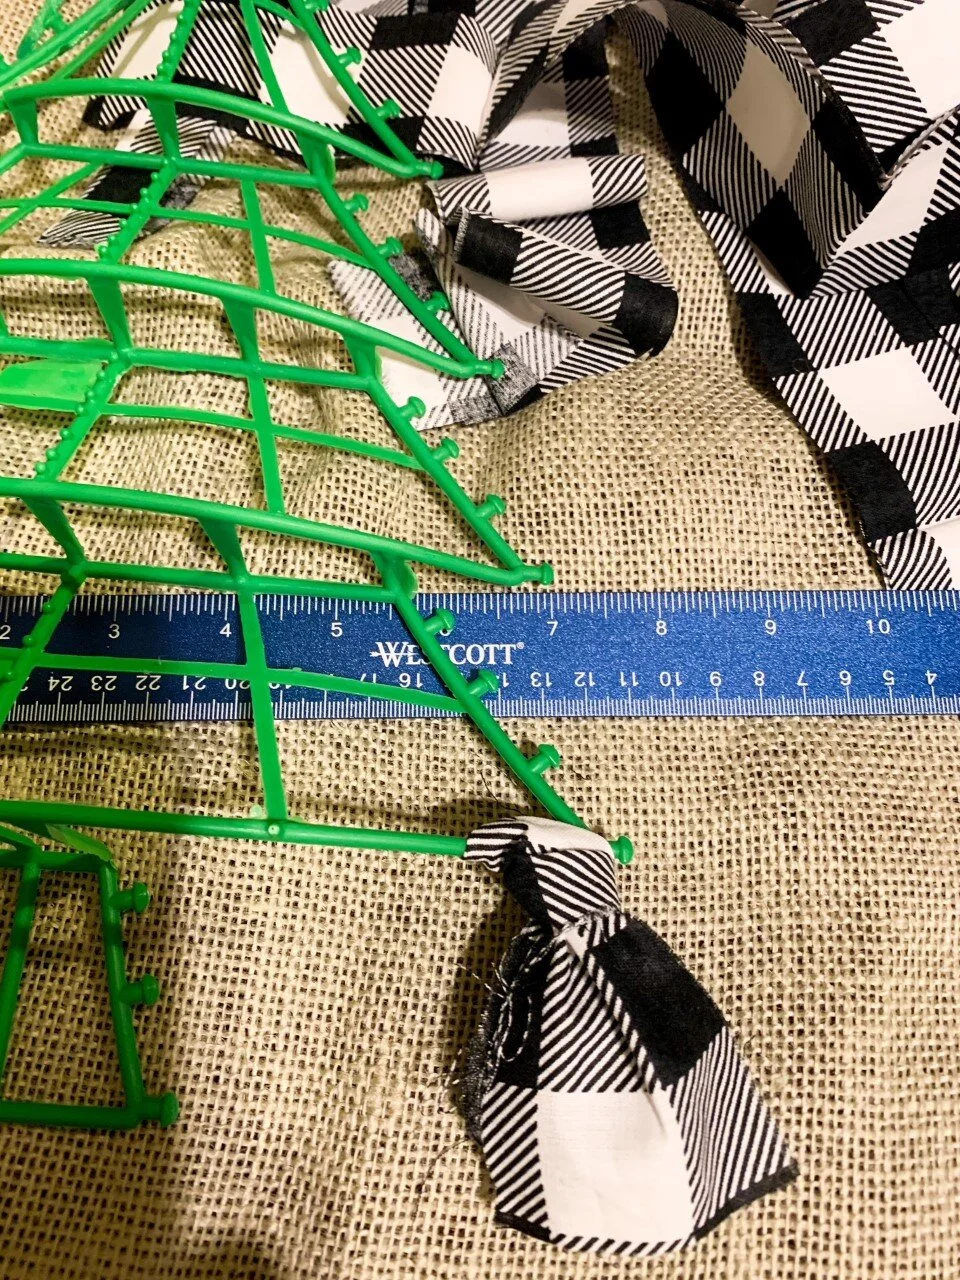
This is what the loop should look like when it’s done. BE CAREFUL NOT TO PULL TOO HARD AND BREAK THE PLASTIC TREE. ( I might be speaking from experience here, lol).
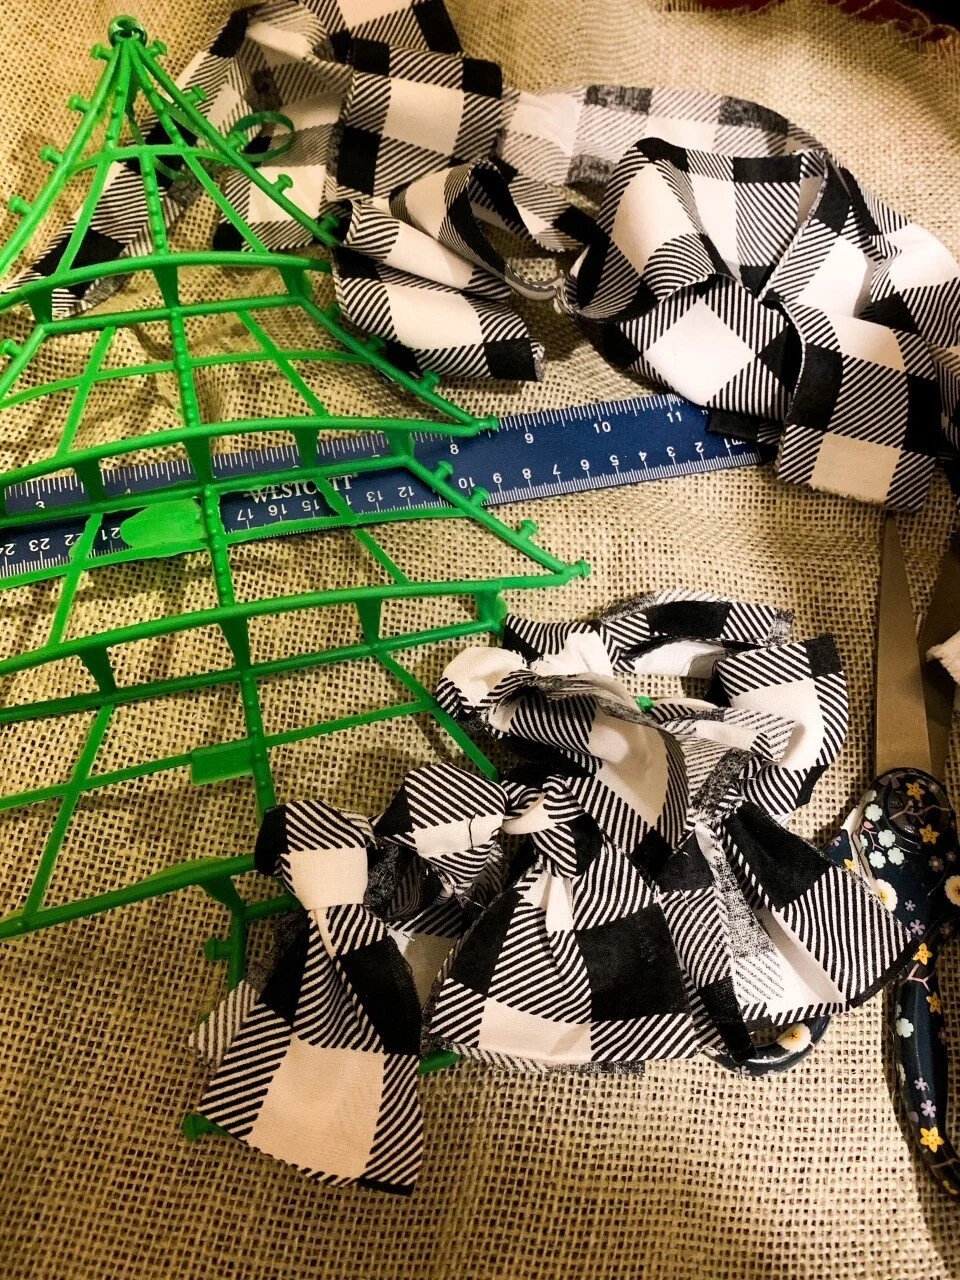
This is with 3 loops done. Keep working across the plastic until it’s filled. I went through and added some to the corners so it hid the green plastic.
It doesn’t take long to fill up the rows.
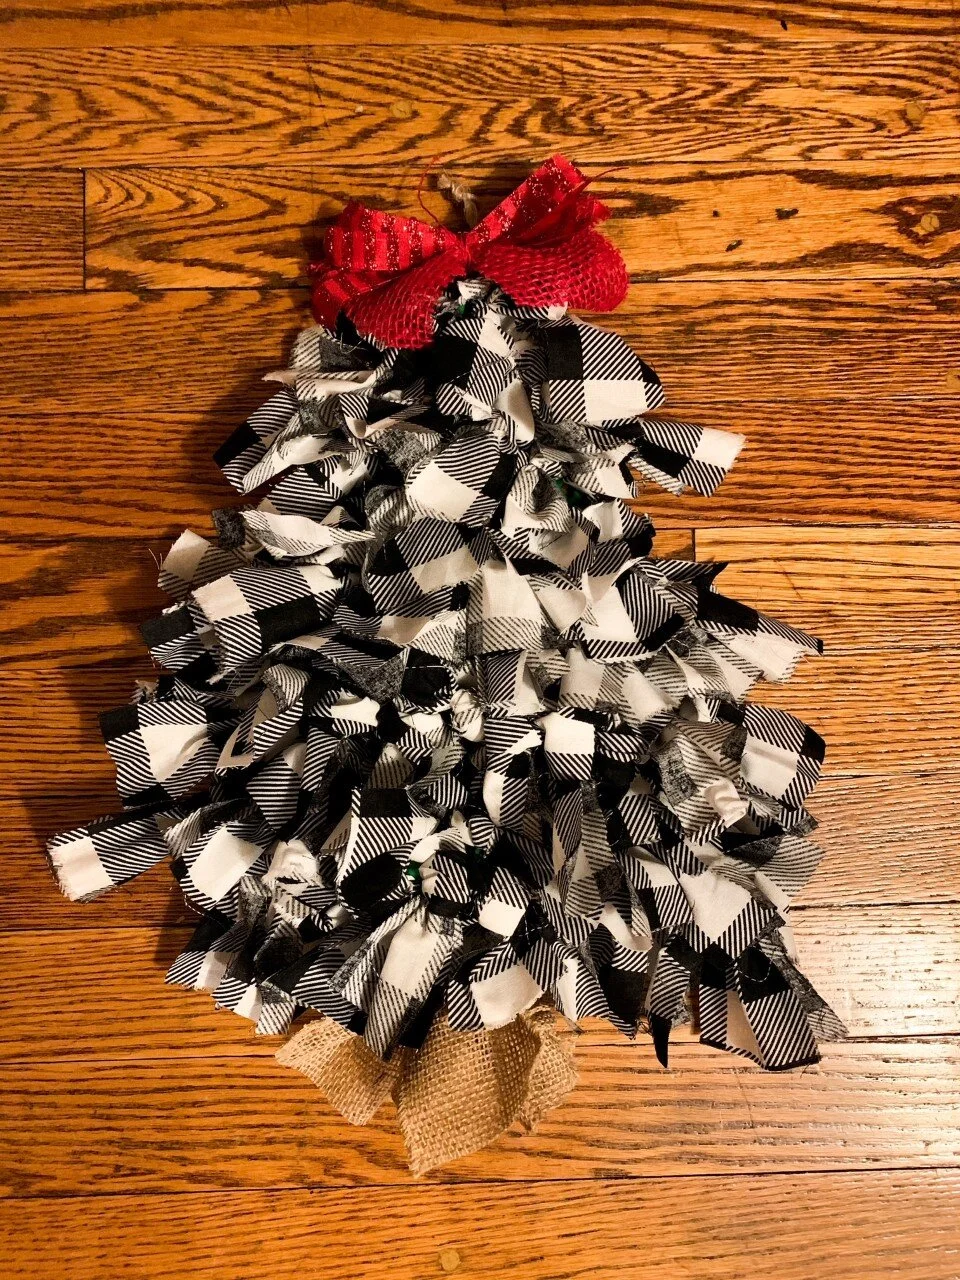
I used 3 strips of burlap ribbon to tie to the truck part of the tree. For the bow, I used scrap red burlap and some sparkly red. I cut strips and tied them with string. Finally, I wired the bow to the tree top frame.
You could use any color of plaid or even try cheetah fabric!! The possibilities are endless!!